




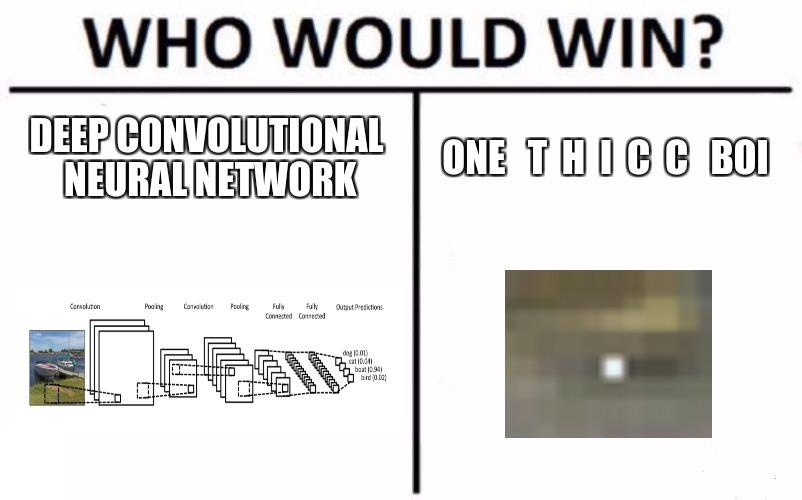
How simple is it to cause a deep neural network to misclassify an image if an attacker is only allowed to modify the color of one pixel and only see the prediction probability? Turns out it is very simple. In many cases, an attacker can even cause the network to return any answer they want.
The following project is a Keras reimplementation and tutorial of "One pixel attack for fooling deep neural networks". The official code for the paper can be found here.
For this attack, we will use the Cifar10 dataset. The task of the dataset is to correctly classify a 32x32 pixel image in 1 of 10 categories (e.g., bird, deer, truck). The black-box attack requires only the probability labels (the probability value for each category) that get outputted by the neural network. We generate adversarial images by selecting a pixel and modifying it to a certain color.
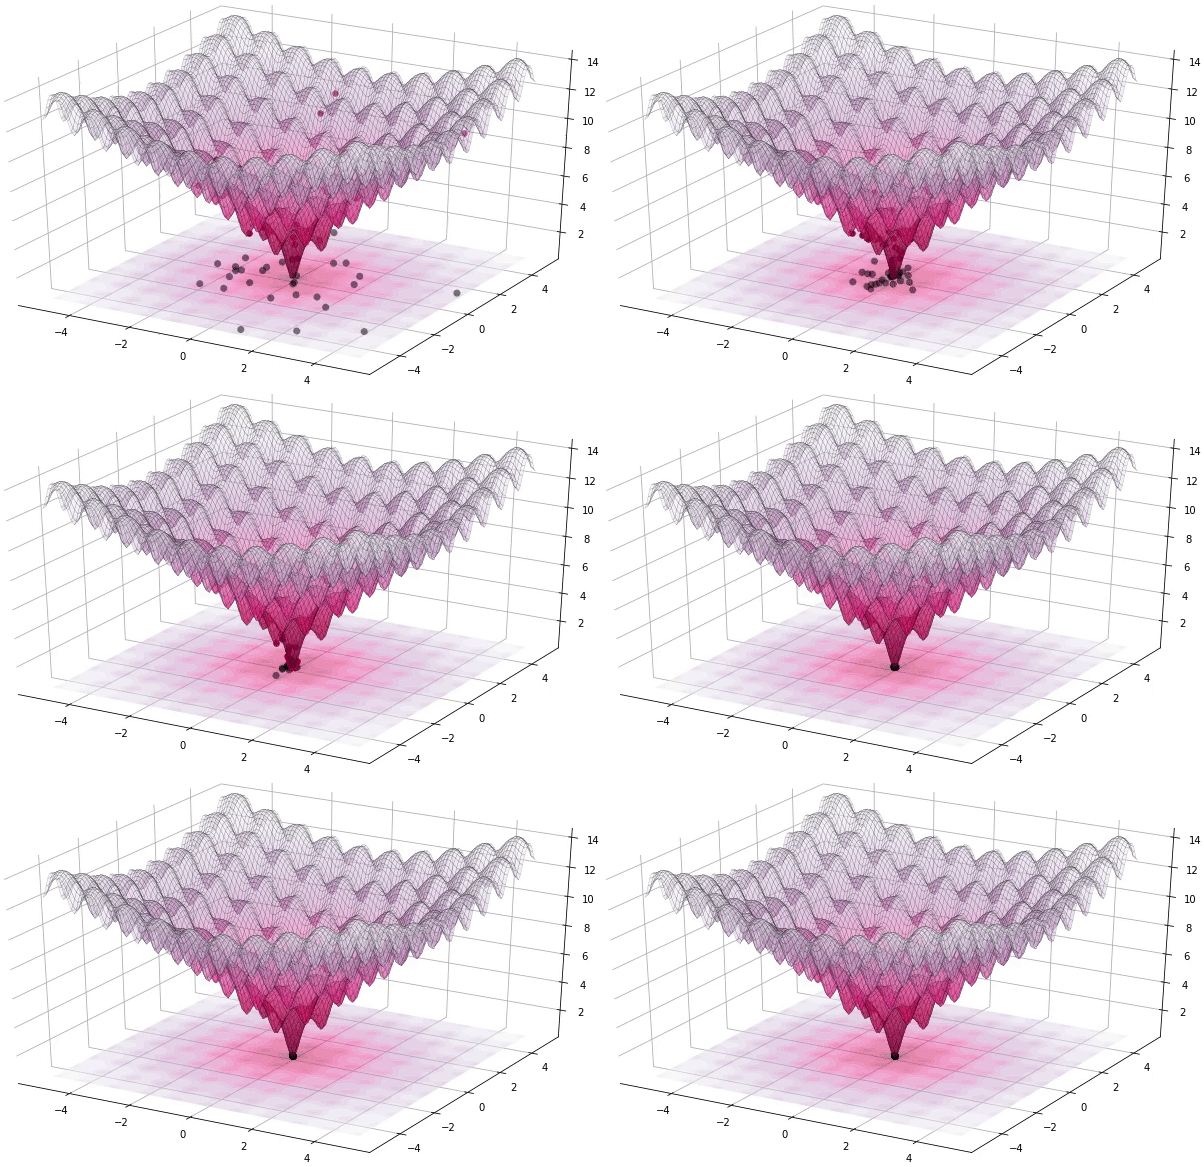
By using an Evolutionary Algorithm called Differential Evolution (DE), we can iteratively generate adversarial images to try to minimize the confidence (probability) of the neural network's classification.
Credit: Pablo R. Mier's Blog
First, generate several adversarial samples that modify a random pixel and run the images through the neural network. Next, combine the previous pixels' positions and colors together, generate several more adversarial samples from them, and run the new images through the neural network. If there were pixels that lowered the confidence of the network from the last step, replace them as the current best known solutions. Repeat these steps for a few iterations; then on the last step return the adversarial image that reduced the network's confidence the most. If successful, the confidence would be reduced so much that a new (incorrect) category now has the highest classification confidence.
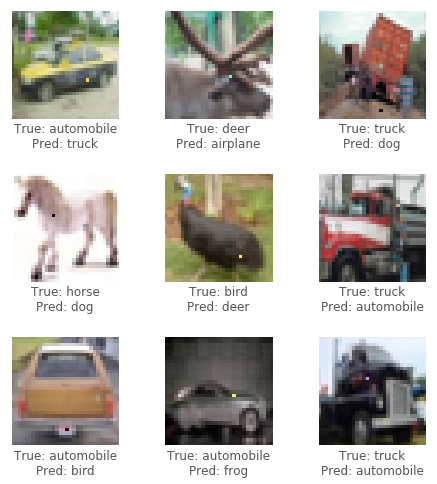
See below for some examples of successful attacks:
Need a GPU or just want to read? View the first tutorial notebook with Google Colab.
To run the code in the tutorial locally, a dedicated GPU suitable for running with Keras (tensorflow-gpu) is recommended. Python 3.5+ required.
- Clone the repository.
git clone https://github.com/Hyperparticle/one-pixel-attack-keras
cd ./one-pixel-attack-keras- Install the python packages in requirements.txt if you don't have them already.
pip install -r ./requirements.txt- Run the iPython tutorial notebook with Jupyter.
jupyter notebook ./one-pixel-attack.ipynbTo train a model, run train.py. The model will be checkpointed (saved) after each epoch to the networks/models directory.
For example, to train a ResNet with 200 epochs and a batch size of 128:
python train.py --model resnet --epochs 200 --batch_size 128To perform attack, run attack.py. By default this will run all models with default parameters. To specify the types of models to test, use --model.
python attack.py --model densenet capsnetThe available models currently are:
lenet- LeNet, first CNN modelpure_cnn- A NN with just convolutional layersnet_in_net- Network in Networkresnet- Deep Residual Learning for Image Recognitiondensenet- Densely Connected Convolutional Networkswide_resnet- Wide Residual Networkscapsnet- Dynamic Routing Between Capsules
Preliminary results after running several experiments on various models. Each experiment generates 100 adversarial images and calculates the attack success rate, i.e., the ratio of images that successfully caused the model to misclassify an image over the total number of images. For a given model, multiple experiments are run based on the number of pixels that may be modified in an image (1,3, or 5). The differential algorithm was run with a population size of 400 and a max iteration count of 75.
Attack on 1,3,5 pixel perturbations (100 samples)
| model | parameters | test accuracy | pixels | attack success (untargeted) | attack success (targeted) |
|---|---|---|---|---|---|
| LeNet | 62K | 74.9% | 1 | 63.0% | 34.4% |
| 3 | 92.0% | 64.4% | |||
| 5 | 93.0% | 64.4% | |||
| Pure CNN | 1.4M | 88.8% | 1 | 13.0% | 6.67% |
| 3 | 58.0% | 13.3% | |||
| 5 | 63.0% | 18.9% | |||
| Network in Network | 970K | 90.8% | 1 | 34.0% | 10.0% |
| 3 | 73.0% | 24.4% | |||
| 5 | 73.0% | 31.1% | |||
| ResNet | 470K | 92.3% | 1 | 34.0% | 14.4% |
| 3 | 79.0% | 21.1% | |||
| 5 | 79.0% | 22.2% | |||
| DenseNet | 850K | 94.7% | 1 | 31.0% | 4.44% |
| 3 | 71.0% | 23.3% | |||
| 5 | 69.0% | 28.9% | |||
| Wide ResNet | 11M | 95.3% | 1 | 19.0% | 1.11% |
| 3 | 58.0% | 18.9% | |||
| 5 | 65.0% | 22.2% | |||
| CapsNet | 12M | 79.8% | 1 | 19.0% | 0.00% |
| 3 | 39.0% | 4.44% | |||
| 5 | 36.0% | 4.44% |
It appears that the capsule network CapsNet, while more resilient to the one pixel attack than all other CNNs, is still vulnerable.
- Cifar10 dataset
- Tutorial notebook
- LeNet, Network in Network, Residual Network, DenseNet models
- CapsNet (capsule network) model
- Configurable command-line interface
- Efficient differential evolution implementation
- ImageNet dataset


